The settings here control the names and email addresses stated as the sender when you send out email messages. Depending on the server configuration, you can define multiple sender identities or only adjust the name and other control fields
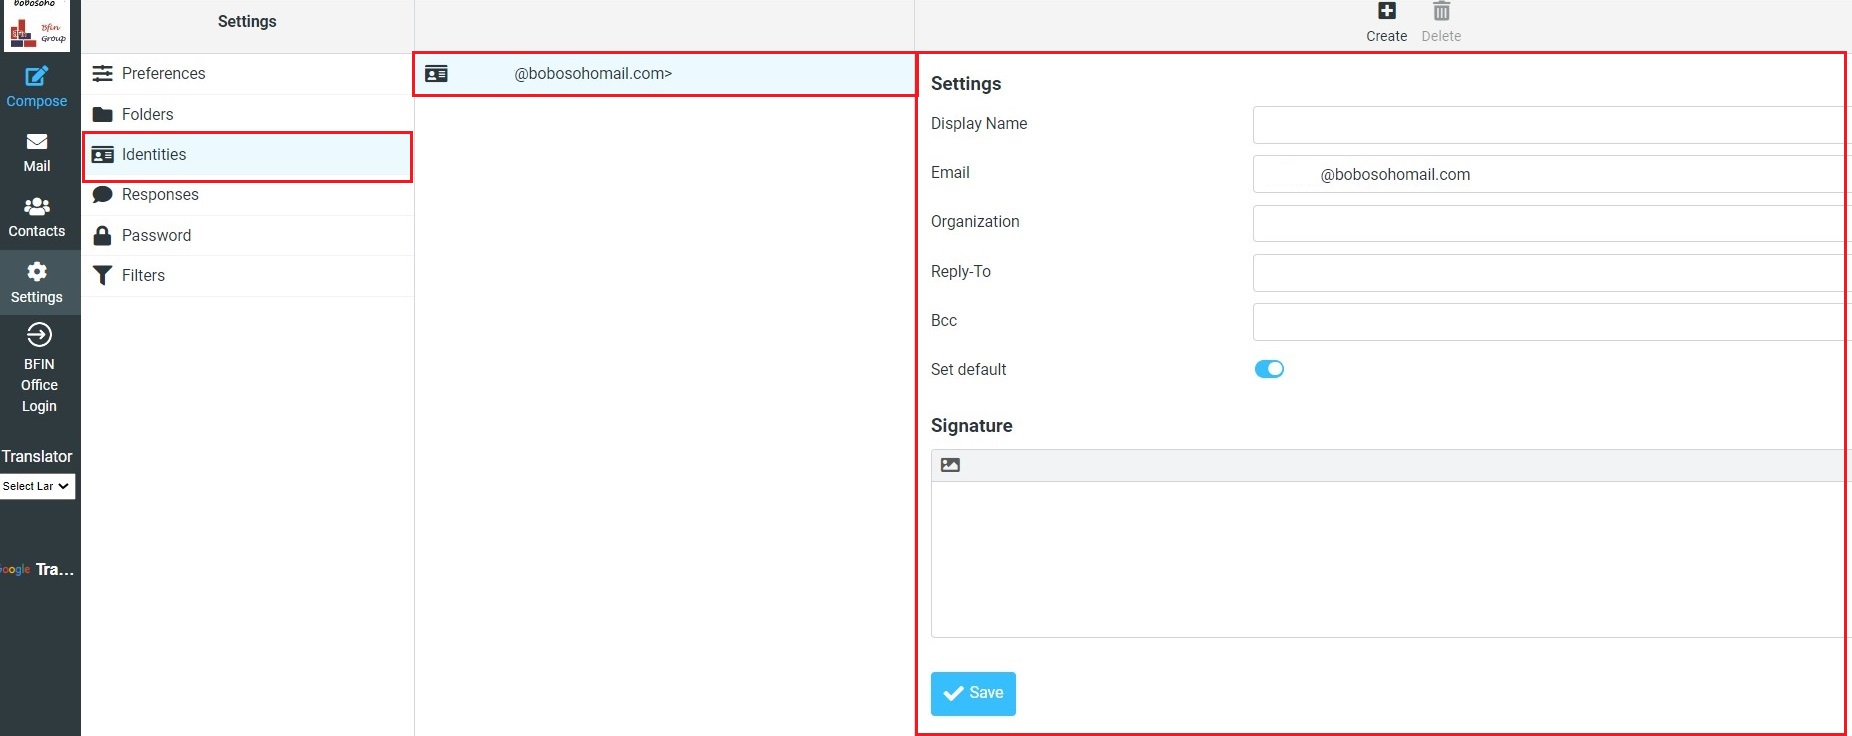
Settings
This first block contains general properties for the selected sender identity
Display Name
The full name is displayed in the recipient’s email program upon receiving your message.
Email
The email address is stated as the sender of email messages you send with this identity. You must enter a valid email address that is handled by your Bobosohomail account. Otherwise, message sending might fail because of an invalid sender address.
Organization
Some email programs display the organization field when receiving messages from you with this filled out.
Reply-to
Enter an email address that differs from the identity’s email address here in order to force recipients to send answers to that address instead of the sender's email address.
Bcc
Specify an email address here that will receive blind copies of every message you send with this identity.
Set default
Check this box to make the current identity the default selection when writing new messages. You can still choose another sender identity while composing a message, though.
Signature Option
Every sender identity can have its own signature text which will be appended to the message text when you start writing a new email message.
Plain text Signature
You can simply make your own plain text signature here, to make just put on your name email organization phone no, etc here and click on the save button, while you are composing the new message just click on the signature above the toolbar a predefined signature will add automatically.
HTML signature
To make an HTML signature you must click on this icon () after clicking, an HTML toolbar will appear on the signature box; you can make your custom signature by using tools such as Bold, Italic with alignment, you can choose multiple fonts with their different sizes.
HTML-formatted signatures also allow embedding images which are sent with outgoing messages. To add an image to your signature, first, check the HTML signature box. Then find an image file on your computer and drag & drop it into the signature box. The image can be moved around or resized within the editor box using the mouse. You can also add custom CSS or HTML codes by clicking on the Source option which appears like <>